In recent years, weft hair extensions have become increasingly popular among Black women. With their convenient styling, easy maintenance, and affordable prices compared to other types of hair extensions like tape-ins or Microlinks, they have gained widespread popularity. However, we may overlook their versatile functionality. Besides the common techniques to install hair weft bundles, such as sew-in and quick weave, there are also various new ways to use them. Have you ever tried to apply your hair bundles in other ways? How many uses can we achieve? Let's explore and discover together!
Unlock endless ways to use weft hair extensions with CURLSQUEEN
1. Quick weave with weft hair extensions
Do a quick weave with hair bundles is also a common method used for most people,we’ve just shared a quick weave guide in our previous blog,check here to learn more.
2.Sew in with weft hair extensions
Do a sew in with weft hair extensions is the most common and popular method of attaching weft hair extensions to your natural hair to add the length or volume,and versatility to your hairstyle.
Sewing in weft hair extensions can be a straight forward process if you follow the guide bellow:
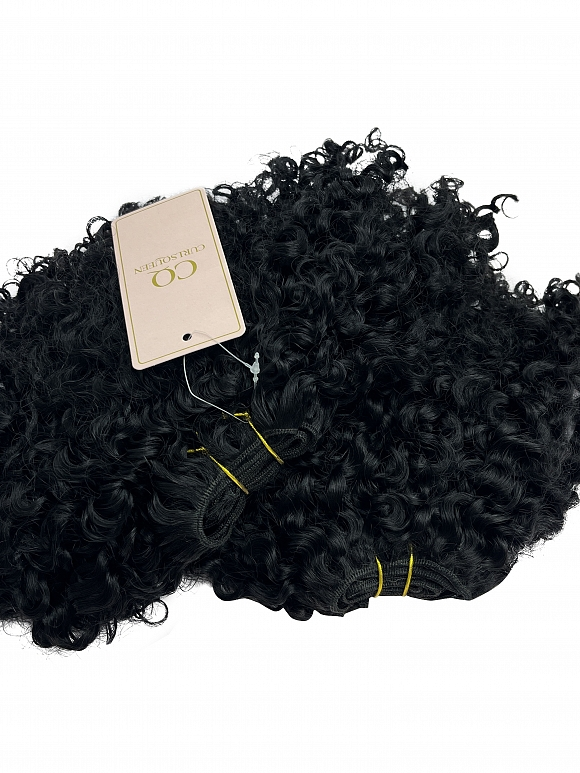
Hair used is CURLSQUEEN weft hair extensions,3b3c water kinky curly texture,24inches
Materials Needed
- Weft hair extensions
- Needle and thread (preferably matching the hair color)
- Rat-tail comb
- Hair clips
- Scissors
- Hair bonding glue (optional for extra security)
- Hair straightener or curling iron (optional for styling)
Step-by-Step Guide
1. Prepare Your Natural Hair
- Wash and condition: Start with clean, dry hair. Wash and condition your hair thoroughly.
- Blow-dry: Blow-dry your hair straight if needed to make the installation easier.
2. Section Your Hair
- Part your hair: Use a rat-tail comb to part your hair horizontally from one ear to the other, starting at the nape of your neck. Clip the upper section of your hair out of the way.
- Create a base braid: Braid your natural hair along the part to create a base for the weft. Secure the end of the braid with a small elastic band.
2.Protect your natural hair
- Wear a wig net to protect your hair before you start to sew in with stitches.
3.Prepare the hair weft bundles
- Measure and cut: Measure the weft against your part and cut it to the appropriate length. Seal the cut ends with a bit of hair bonding glue to prevent shedding (optional).
4. Thread the needle
- Prepare the thread: Thread the needle with a strong, matching thread. Tie a knot at the end of the thread to secure it.
5. Sew in the hair weft bundles
- Start sewing: Place the weft along the part where you made the braid. Insert the needle under the braid and pull it through, bringing the thread through the weft.
- Stitch tightly: Continue sewing along the braid, making tight stitches to secure the weft to your natural hair. Make sure each stitch goes through both the weft and the braid.
- Knot the thread: Once you reach the end of the weft, tie a secure knot with the thread and cut off the excess.
6. Repeat the Process until you finish sewing
- Move up: Part another section of your hair horizontally above the previous weft, and repeat the process until you achieve the desired volume and coverage.
- Blend the wefts: Ensure that each weft lies flat against your head and blends seamlessly with your natural hair.
Tips for a Successful Sew-In
- Choose the right weft hair extensions: Select weft extensions that match your hair color and texture for a natural look.
- Tight but comfortable: Ensure the braids and stitches are tight enough to secure the wefts but not so tight that they cause discomfort or damage to your scalp.
- Maintenance: Keep your scalp clean and moisturized. Be gentle when washing and detangling your hair to maintain the longevity of the sew-in.
3.Install hair weft bundles as ponytail directly
Installing hair weft bundles as a ponytail directly is easier than you imagine. Even if you are doing it for the first time, you can effortlessly achieve a polished high ponytail or low ponytail by yourself.
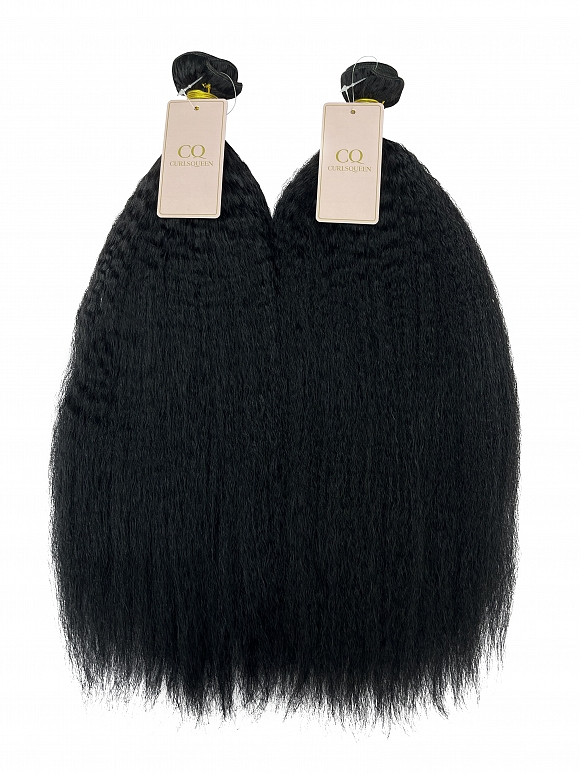
Hair used is CURLSQUEEN Kinky Straight Weave Bundle Weft Hair Extensions
Materials Needed
- Hair weft bundles
- Hair tie or elastic band
- Bobby pins
- Hairbrush or comb
- Hair gel or pomade (optional for a sleek look)
- Hair spray (optional for hold)
Step-by-Step Guide
1. Prepare Your Hair
- Brush and gather: Brush your natural hair to remove any tangles and gather it into a ponytail at your desired height.
- Secure: Use a hair tie or elastic band to secure your natural hair into a tight ponytail.
2. Prepare your hair weft bundles
- Measure and cut: Measure the hair bundles to ensure they’re the right length for your ponytail. You may cut the hair wefts to match the circumference of your ponytail base.If you have long hair that just want to add the volume a small piece would fit,however if you have short natural hair, a wider piece of hair wefts would be better.
3. Attach the hair weft bundles
- Wrap around the base: Take the end of the weft and start wrapping it around the base of your ponytail. Begin at the bottom near the hair tie and work your way up.
- Secure with bobby pins: As you wrap the weft around the ponytail base, secure it with bobby pins at regular intervals to ensure it stays in place. Make sure the bobby pins are hidden under the weft.
4. Blend and Style
- Wrap a small section of hair: To hide the weft and bobby pins, take a small section of hair from the ponytail and wrap it around the base. Secure the end of this section with a bobby pin, tucking it under the ponytail.
- Blend with your natural hair: Use a brush or comb to blend the weft hair with your natural hair in the ponytail. You can use a curling iron or straightener to style the ponytail as desired.
5. Finish the Look
- Add product: Apply hair gel or pomade to smooth down any flyaways and achieve a sleek look. Use hair spray for extra hold if needed.
Tips for a Secure and Natural Look
- Choose the right weft hair extensions: Ensure the weft hair matches your natural hair color and texture for a seamless blend.
- Tight but comfortable: Make sure the weft is securely attached but not too tight to avoid discomfort or damage to your hair.
- Use enough bobby pins: Secure the weft with enough bobby pins to prevent it from slipping or coming loose.
By following these steps, you can achieve a stylish and voluminous ponytail using hair weft bundles. This method is quick and can give you a polished look without the need for a professional stylist.
4.Diy clip ins with Hair weft bundles
Clip ins users know that the clips sewn onto the weft hair extensions help users apply and secure the hair extensions more easily than attaching hair wefts to the head with sew-in stitches or glue. They can be removed instantly by opening the clip-ins. How can we create DIY clip-in hair extensions ourselves using hair weft bundles?
Hair used is CURLSQUEEN weft hair exensions,loose wave texture,18inches.
Materials Needed
- Hair weft bundles
- Hair extension clips
- Needle and thread (preferably matching the hair color)
- Scissors
- Measuring tape
Step-by-Step Guide
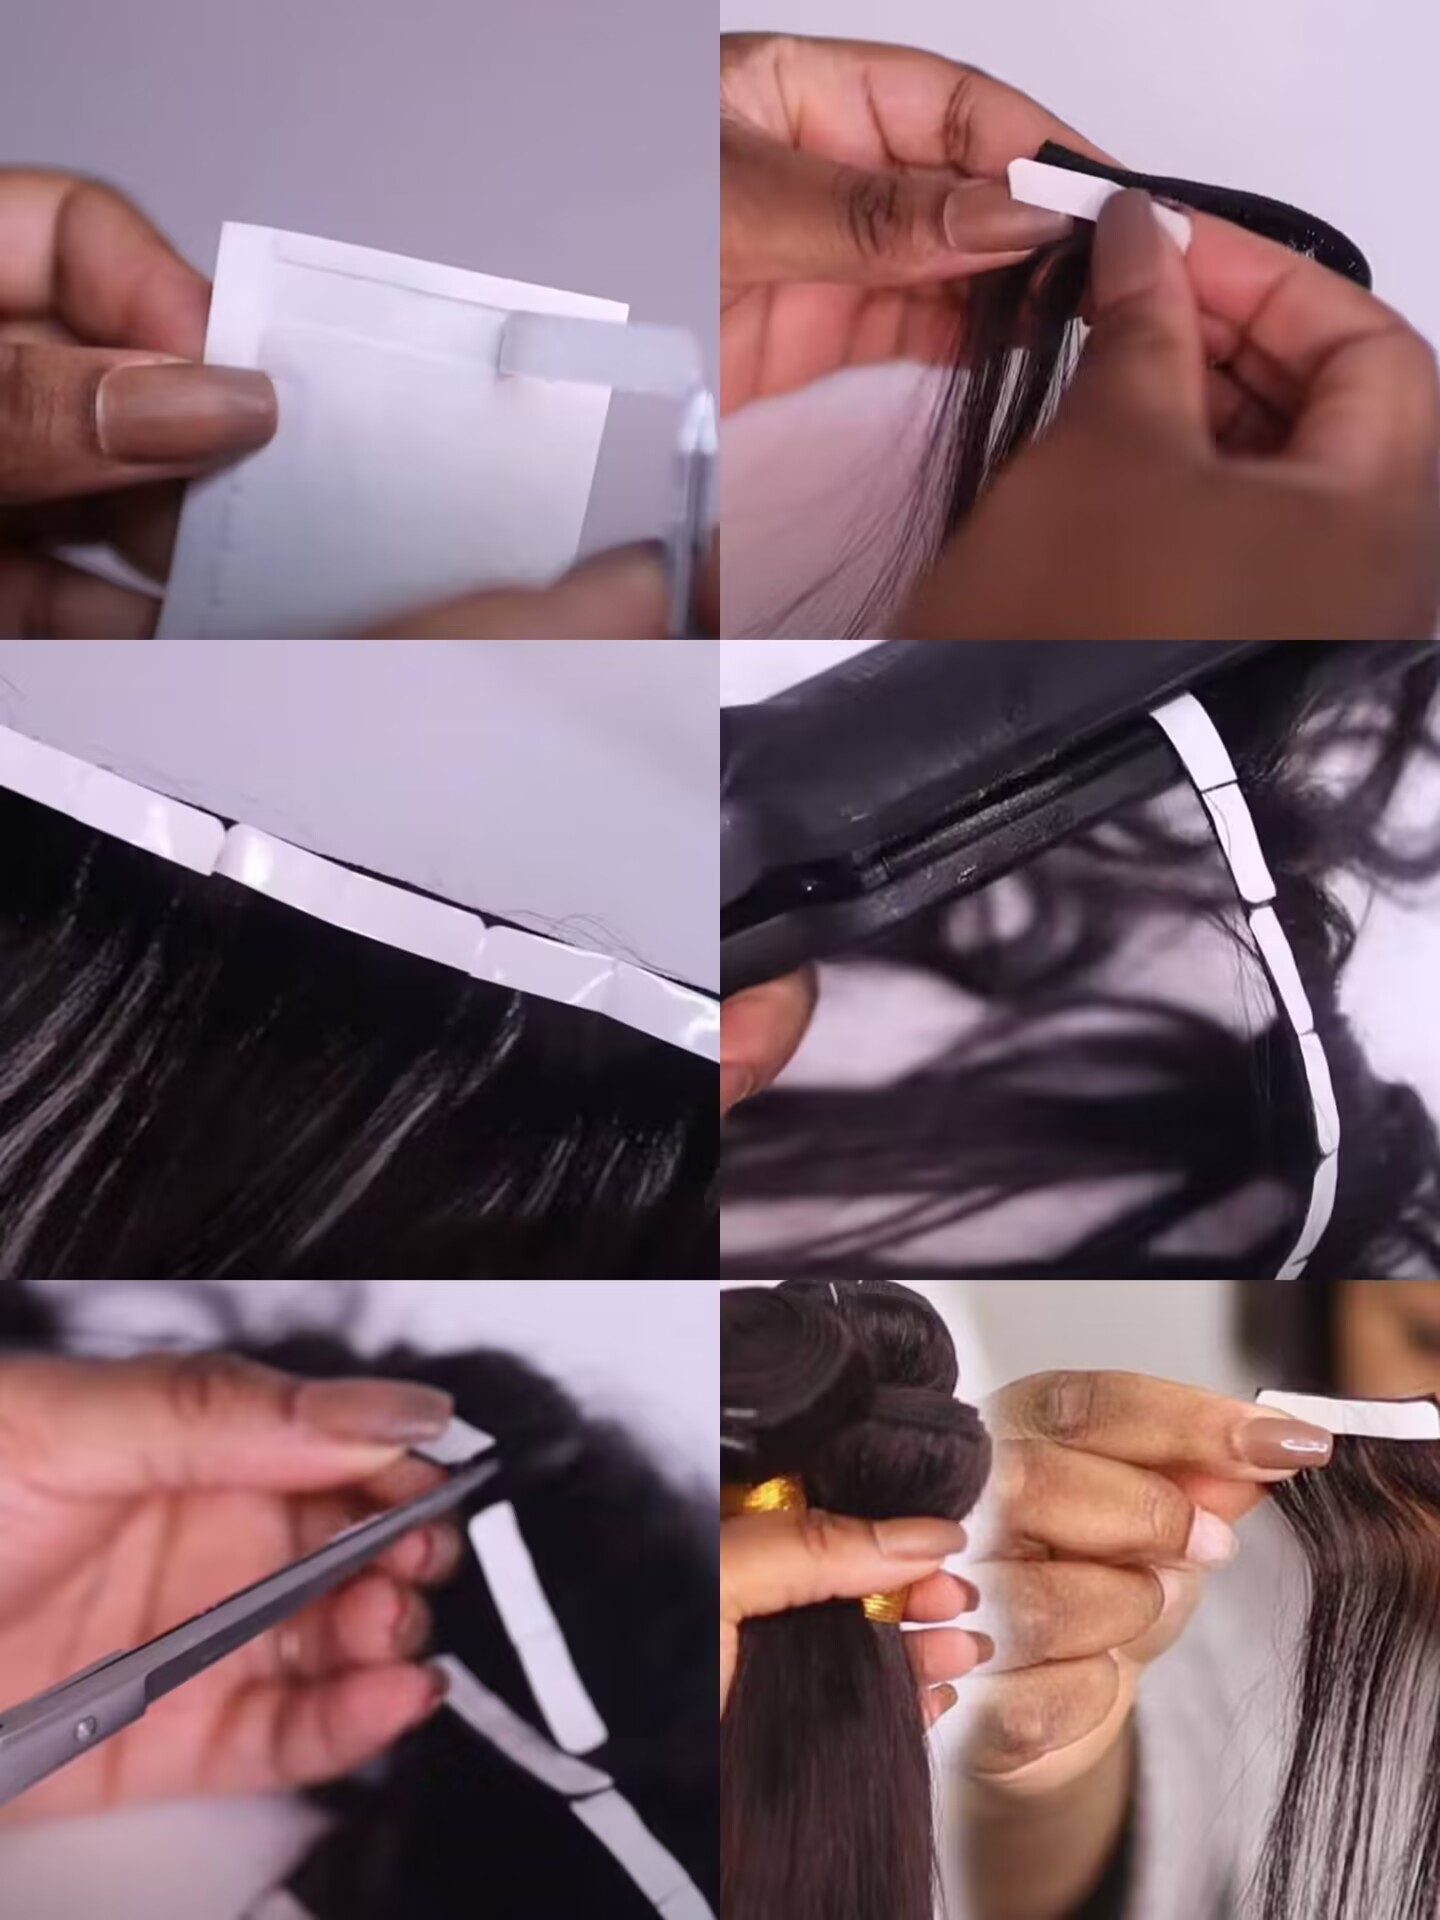
1. Measure and Cut the Wefts
- Measure: Determine the width of the hair wefts based on the sections of your head where you plan to place the extensions (e.g., nape, sides, crown).
- Cut: Cut the weft into pieces according to these measurements. Typical widths are 2 inches for the sides and 4-8 inches for the back and crown. Ensure the wefts are cut to fit comfortably without being too wide.
2. Prepare the Clips
- Number of clips: Depending on the width of the weft, you’ll need 2-3 clips per weft. For wider sections, use more clips for secure attachment.
3. Attach Clips to the Weft(using sew in method or glue method)
- Position the clips: Place the clips evenly along the top edge of the weft. The silicone backing should face downward, as this will grip your natural hair.
- Thread the needle: Use a strong thread that matches the color of the hair weft.
- Sew the clips: Begin sewing from one side of the clip, making sure to secure it tightly. Stitch through the hole at each end of the clip multiple times for extra security. Tie a knot at the end to finish. Repeat for each clip on the weft.
4. Repeat the Process
- Create all pieces of clip in hair extensions: Repeat the process for each section of your hair, creating multiple clip-in hair wefts of various widths to cover your entire head.
Tips for a successful clip in hair wefts Diy process:
- Cut the wefts carefully without cutting off the hair wefts
- Be patient when you sew the clips onto the wefts
5. Diy wrap clip in ponytail with weft hair extensions
Creating a DIY wrap clip-in ponytail with weft hair extensions is a great way to add length and volume to your natural hair quickly and easily. Here’s how you can do it:
Materials Needed
- Hair
- Hair extension clips
- Scissors
- Measuring tape
- metallic twist ties
- Elastic Hair Band
- Needle and thread (optional)
Step-by-Step Guide
1. Measure and Cut the Wefts
- Measure: Determine the width of the hair wefts based on your natural hair length and the volume you want for the outlook.
2. Prepare the Clips
- Number of clips: Depending on the width of the weft, you’ll need 2-3 clips for one piece of clip-in ponytail
- Attach clips onto the hair wefts with metallic ties (you can still sew the clips onto the hair wefts instead using the metallic ties)
- Fold the hair weft bundle and secure it with 2 or 3 metallic twist ties.
- Turn the hair wefts into a simple version clip in hair extensions by attaching hair clips onto the metallic twist ties.
4. Create a simple wrap clip in hair extensions
- Pull the elastic band through the root of clip in hair you created and pull out the band to secure it with the hair extensions.
6.Diy tape ins from hair bundles
Creating DIY tape-in extensions from hair weft bundles is a great way to customize your extensions. Here’s a step-by-step guide to help you make your own tape-in hair extensions:
Materials Needed
- Hair weft bundles
- Double-sided hair extension tapes
- Scissors
- A tweezer(optional)
- Ruler or measuring tape
- Flat iron (optional for securing the tape)
Step-by-Step Guide
1. Measure and Cut the Wefts
- Measure: Determine the width of the sections you want to create. Typically, tape-in extensions are about 1 to 1.5 inches wide.
2. Attach the Tape
- Prepare the tape: Cut the double-sided tape into strips that match the width of your weft sections.
- Apply the tape: Peel off one side of the tape and stick it to the top edge of the weft section. Press firmly to ensure it adheres well.
- Seal the tape:
3. Repeat the process until you attach all the tapes you want.
4. Apply heat gently to your hair wefts for secure:
5. Cut each tape ins from the weft hair extensions carefully.
Tips for a successful tape in hair extensions Diy process:
- Place the stick side flat on the weft and press it firmly.
- Apply heat gently to your hair wefts for secure:For extra security, you can use a flat iron on a low setting to gently apply heat to your weft before you cut them into pieces. Make sure not to overheat as it might damage the hair.
7.Diy upart wig with hair bundles
Materials Needed
- Weft hair extensions
- A regular wig cap or wig mesh cap with guidelines and U-shaped opening(is recommend for beginners)
- Needle and thread (or a hot glue gun)
- Scissors
- Wig clips or combs
- Mannequin head (optional)
- A tailor's chalk or a white eyeliner pencil(optional)
Hair used is CURLSQUEEN weft hair extensions,light yaki texture,22inches
Step-by-Step guide
1. Prepare the Wig Cap
- Place the wig cap: Put the wig cap on a mannequin head or a flat surface.
- Mark off for leave out in the front:Measure and draw the parting lines for the leave out in the front.
- Draw the guidelines for sew in tracks:
- Starting from the bottom at the nape of the neck, use tailor's chalk or a white eyeliner pencil to draw horizontal lines across the cap. Space these lines about 1-2 inches apart. Note that the narrower the space you leave, the more hair needs to be prepared for the sew-in.
- Continue drawing these lines up to the top of the cap, ensuring that the lines are drawn evenly and follow a natural curve around the head.
2. Attach the Wefts
- Measure the wefts: Measure the wefts against the U-part cap, ensuring they fit snugly around the U-shaped opening.
- Sew or glue the wefts: Starting from the bottom, sew or glue the wefts onto the cap in a horizontal pattern. Make sure to place the wefts closely together for a fuller look.
3. Secure the Wefts Around the U-Part
- Focus on the U-part: Carefully sew or glue the wefts around the U-shaped opening. This will be the most visible part, so ensure it's neat and secure.
4. Attach Wig Clips or Combs
- Add clips or combs: Sew wig clips or combs along the edges of the U-part and the sides of the wig cap. This will help secure the wig to your natural hair.
5. Final Adjustments
- Trim the cap: Once all the wefts are attached,cut the U-shaped opening on the cap to fit the size and position of your leave-out area.
- Style: Trim the hair extensions to your desired length and style.
- Blend with natural hair: When wearing the U-part wig, leave out a section of your natural hair to blend with the extensions for a seamless and natural look.
8 .Diy hat wig with hair bundles
This is a truly amazing journey to discover multiple ways to use our weft hair extensions. Now, we've reached the final destination for the DIY hat wig.
A DIY hat wig can be a fun and creative project! Here's a step-by-step guide to help you create your own DIY hat wig.
Materials Needed
- Weft hair extensions(Choose human hair extensions for a good matching your hair color and texture)
- A base hat with suit size
- Hair bonding glue
- A blow dryer
- Scissors
- Needle and thread (optional for sew in method)
Step-by-Step Guide
1. Prepare the base hat:Clean and prepare the base hat by removing any excess fabric or debris.
2.Turn the hat inside out:Turn the hat inside out for weaves attach process.
3. Cut the hair extensions:Cut the hair extensions to the desired length and style.
4. Attach the hair extensions: Apply glue onto weft hair extensions and attach them to the base hat. Start at the bottom of the hat and work your way around, making sure to secure the hair extensions tightly.
5. Repeat the attaching process
6. Secure the hair extensions: Use a blow dryer to heat the glue for secure.
Tips for a successful wig hat Diy process:
- Use glue to attach hair wefts to the wig hat is quicker than sew in method,but you can try to use sew in method if you have enough time.
- Attach the wefts evenly apart.
Now, our journey to discover the endless uses of weft hair extensions with CURLSQUEEN to enhance your hair game is coming to an end. These methods for transforming your hair bundles will enable you to achieve a variety of styles in the future. CURLSQUEEN's weft hair extensions blend seamlessly with natural hair, offering endless styling possibilities, they are easy to install and maintain, making them a practical choice for anyone looking to add length, volume, or color without making permanent changes. Let's explore more hair tricks and chic styles in the upcoming blogs!
Seeking weft hair extensions with matching textures and colors to effortlessly customize your look on our website.
If you are unsure about which texture to choose for blending, feel free to email our CSR ([email protected]) with photos of your natural hair. We will provide you with our recommendations:)