Selecting the appropriate type of hair extensions can be both an exciting and intimidating choice, especially for those who are new to the world of hair transformation. Of all the options available, tape-in and clip-in extensions are both widely used options. Both have special benefits, but determining which is best for beginners requires a deeper examination of their differences, usage possibilities, and limitations.
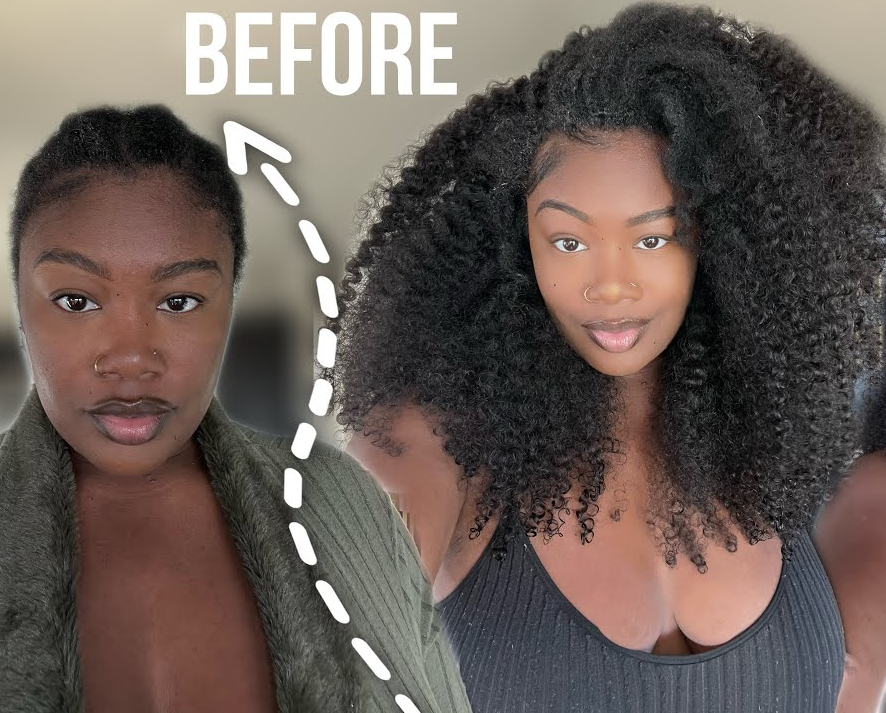
In this guide, we compare tape-ins and clip-ins, focusing on which option is better suited for beginners. We'll weigh the benefits and drawbacks of each so you can decide whether you want a hassle-free everyday glam solution or versatile stylish possibilities.
Come along as we explore the world of hair extensions and compare and contrast tape-ins and clip-ins to determine which is best for beginners looking for effortless style and beauty.
Tape ins vs. Clip in hair extensions: What are the significant differences between them?
Clip ins
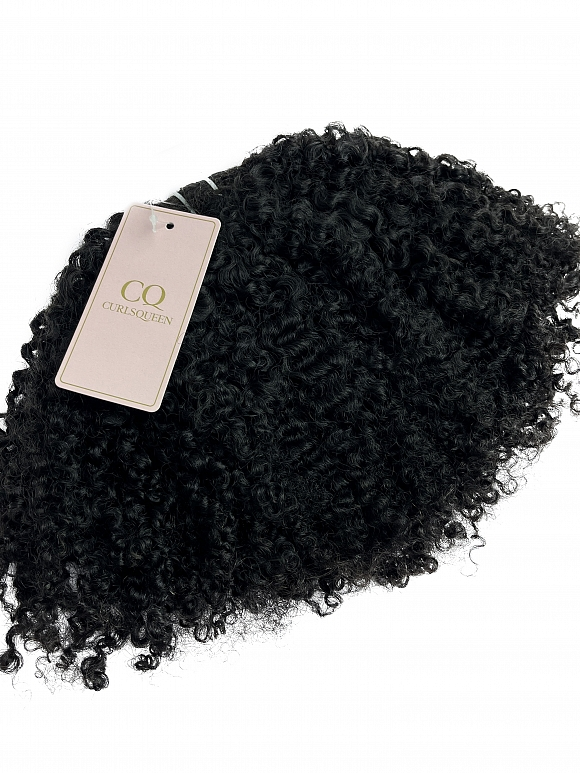
- Manufacture:Clip ins are hair wefts sewn or attached with clips to securely attach to your natural hair.
- Install method
- Size:Clip-in hair extensions typically come with wefts of varying sizes to accommodate different areas of the head and achieve a natural blend with your own hair. Usually, one pack contains 7-10 pieces, varying in sizes from small (2-3 inches), medium (6-8 inches), to large (10 inches).
Tape ins
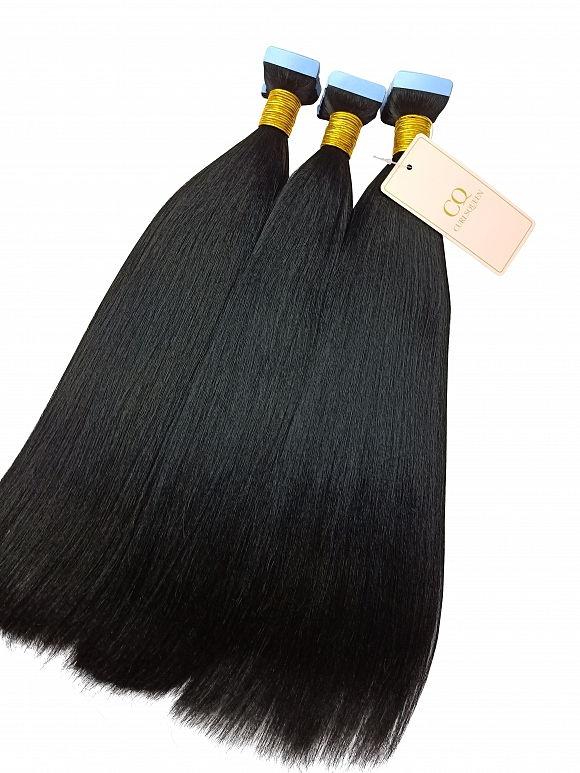
- Manufacture:Tape-in hair extensions are a type of semi-permanent hair extension where thin wefts of hair are pre-taped with a special adhesive
- Install method:Tape ins are installed by adhering them to thin strips of your own hair, piece by piece.The adhesive used is typically medical-grade and designed to be gentle on the hair and scalp while providing a strong and secure hold.
- Size:Most common sizes sold in the hair market are 1x4 cm. We've shared the detailed installation process of clip-ins and tape-ins in a previous blog. Check it out if you need help.
Tape ins vs. Clip in hair extensions: how many pieces of extensions are required for a full head installation?
The number of extensions used for a full head installation depends on various factors, including the desired volume and thickness of the hair, the chosen brand, as well as the individual's natural hair density and length.
- Clip ins:10 pcs
For a full head installation with clip ins, you need 10 pcs of double-weft for full head use.
All clip ins from CURLSQUEEN come in a pack of 10 pieces, double weft sewn with 100% human hair.
- Tape ins:60-120 pcs
For a full head installation with tape ins, you need around 60 to 120 pieces of tape-in extensions for a natural full look.
Tape ins from CURLSQUEEN come in one pack of 40 pieces,2 packs recommend for a natural glam look and 3 packs for ultra full look as desired.
Tape ins vs. Clip in hair extensions: which is easier to install?
Compare the installation difficulty between them, here are some factors that need to be considered:
Tools Needed for Installation: clip-ins vs. Tape-ins:
Clip ins
- Two mirrors
Using two mirrors positioned strategically can help you see the back of your head more easily during the installation process, ensuring even placement of the extensions.
- Rat tail comb:
A rat tail comb is used to create clean, straight partings in your natural hair, allowing for seamless integration of the extensions.
- Sectioning clips:
use clips help to divide your natural hair into manageable sections during the installation process, ensuring precise placement of the extensions.
- Edges control(optional)
- Hair oil(optional)
Tape ins
- Rat tail comb
- Sectioning clips
- Extension Pliers:Extension pliers are specifically used to press the tape tabs firmly onto the natural hair, ensuring secure attachment without causing damage.
- Hair extension tapes(optional):If you fail to attach pieces of the tape correctly during installation and the tape loses its stickiness, you will need replacement tapes.
- Edges control(optional)
- Hair oil(optional)
Hair used is CURLSQUEEN Tape ins light yaki texture,20 inches
Time Required for Installation: Clip-ins vs. Tape-ins
Clip ins:10-30 minutes
If you are new to installing clip-in extensions, it might take a bit longer as you familiarize yourself with the process. Expect anywhere from 10 to 30 minutes for your first installation, depending on the numbers of wefts you're using and how familiar you are with the install apply process.
Once you've gotten the hang of it, installing clip-ins becomes much faster. With practice, you could potentially install a full set of clip-in extensions 5 to 15 minutes.
Tape ins:1-1.5 hours
For beginners, the process of installing tape-in hair extensions might take around 1 to 1.5 hours, depending on your familiarity with the process.
Since tape-ins are small pieces that are separated, 100-120 pieces are required for a whole head installation. Beginners may take much more time in sectioning and installing tape in hair extensions compared to applying clip-in extensions.
Installation Skill Level: Clip-ins vs. Tape-ins
Clip ins:Beginner friendly
Clip-in extensions are typically considered the easiest type of hair extensions to install, even for beginners. They require no special tools or adhesive, just take one piece of extensions,open the clips, than you can simply clip them onto your natural hair.
Tape in:Moderate to Advanced.
Beginners may find tape-in installation more challenging due to the need for precise parting, proper placement of the wefts, and securing them with adhesive.
Compared to clip-ins, tape-in extensions require more precision and technique as they involve attaching wefts of hair with a special adhesive tape to sections of your natural hair. It is not easy to make adjustments if you don't apply any piece of your tape-in hair extensions well.when you fail to install any pieces of them at the position you want you pull them out but the tape loose it stickiness,you have to remove the adhesive and replace the double side of the tape for reinstall.
Hair used is CURLSQUEEN clip ins,3c4a water jerry texture,18 inches
Tape ins vs. Clip in hair extensions: which is easier to remove?
Tools Needed for removal: clip-ins vs. Tape-ins
Clip ins
- No special tool needed:Just open all the clip ins and pull them out from your head gently.
Tape ins
- Two mirrors:If you are first time to remove the tape in extensions yourself,you still need to use 2 mirrors to monitor your removal process.
- Hair bond remover(or mixture of Household alcohol and essential oil)
- A bottle sprayer to contain a mixture of alcohol and oil(optional)
- Cleansing wipes or napkins (optional):You may need to prepare napkins to wipe away any liquid that drips down onto your neck or face.
- Rat tail comb:For beginners,It is helpful for you to separated hair pieces from your natural hair after you spray the bond remover.
Time required for removal: clip-ins vs. Tape-ins
- Clip ins:5-10 minutes
- Tape ins:20-45 minutes
It takes around 20-45 minutes to remove tape-ins, depending on how many extensions you are using and the type of remover you use.
After you spraying the bond remover to saturate the band of tapes, you need to wait for a while and use your hands to wiggle the tapes until you feel them getting loose. Then, you can gently peel them off your natural hair.
Clip-ins vs. tape-in hair extensions,which is easier to reinstall?
Clip-in hair extensions are easier to reinstall compared to tape-in hair extensions because they are attached by clipping the sewn clips on the hair weft onto your natural hair without using any adhesive.
Tape ins vs. Clip in hair extensions: which offers more flexibility for hair washing styling?
No matter if you choose clip-ins or tape-ins, human hair extensions can withstand heat well and can be styled in various ways to suit your preferences.
But compared to the styling flexibility in daily life, clip-ins play a better role due to these factors:
Installation & removal flexibility:clip-ins vs. Tape-ins
Clip ins:
Clip-ins can be easily and instantly applied and removed.
offering you the flexibility to adjust the volume or switch back to your natural hair easily in daily life.
Tape ins:
Tape-in extensions require reapplication every 6-8 weeks because the adhesive may loosen over time or as your natural hair grows out, exposing the tapes and affecting your hair styling.
Hairstyles transform flexibility:clip-ins vs. Tape-ins
Clip ins:
Clip ins can be used separately by attaching 3 or 4 pieces,this means you have more styling flexibility to switch your hairstyles than tape ins.
Tape ins:
You can transform your hairstyle into different styles with human hair tape-ins, but you won't be able to revert to your natural hair or any style with more leave-outs until you remove them.
Convenience of washing and applying heat:clip-ins vs. Tape-ins
Clip ins:
Washing:Clip-in extensions are typically removed before washing, which can be more convenient as you can wash your natural hair separately. You have full control over the washing process and can use your preferred shampoo and conditioner without worrying about damaging the extensions.
Applying heat:After applying heat protectant, you can style all of your human hair clip-ins with the desired heat setting(temperature 100-150°C is recommend).
Tape ins:
Washing:With tape-in extensions, you can wash your hair as usual with the extensions in place. While this eliminates the need to remove and reapply the extensions for each wash, it requires extra care to ensure that water and products do not weaken the adhesive bonds. You may need to adjust your washing technique to avoid excessive rubbing or tugging on the tape tabs.
Applying heat:Tape-in extensions can withstand heat styling tools, but you need to be cautious to avoid direct contact with the tape tabs, as heat can weaken the adhesive bonds and cause the extensions to slip. You may need to minimize heat exposure to the tape tabs.
In conclusion, both tape-in and clip-in hair extensions offer unique advantages for beginners seeking to enhance their hairstyles. While tape-ins provide a longer-lasting, semi-permanent solution with a seamless blend, clip-ins offer versatility and ease of application.
Ultimately, the choice between tape-ins and clip-ins depends on individual preferences, lifestyle, and styling goals. Considering the factors discussed in this article, you can easily make your decision between them without any regrets!
If you are unsure about which texture to choose for blending, feel free to email our CSR ([email protected]) with photos of your natural hair. We will provide you with our recommendations:)