Hey girls, as we head into summer, we're looking forward to some hot and easy hairstyles for the season. However, it's challenging when hair easily dries out or gets tangled in hot weather. We love the texture that a curling wand adds, and heating tools can help tame roots and flyaways easily. But every time we wash our hair, it feels drier than before. Why does this happen? Should we use natural methods to style and protect natural hair to avoid overusing hot tools and reduce hair stress in hot weather? In today's blog, let's explore 8 easy ways to get heatless curls and enhance our stylish summer hairstyles!
Why Does High Temperature in Summer Cause Breakage, Dryness, and Overall Extreme Damage to Hair?
UV Damage: Ultraviolet (UV) rays from the sun can penetrate the hair cuticle and cortex, breaking down the protein structure (keratin) of the hair. This weakens the hair strands, making them more prone to breakage. UV rays also cause color-treated hair to fade and lose its vibrancy.
Dehydration: High temperatures cause the hair and scalp to lose moisture more quickly. This can lead to dehydration, making hair dry, brittle, and more susceptible to breakage.
Sweat and Salt: Sweat produced during hot weather contains salt, which can accumulate on the scalp and hair, further contributing to dryness and damage.
Frequent Washing: In an effort to stay cool and clean, people often wash their hair more frequently in the summer. This can strip the hair of its natural oils, leading to dryness and damage.
9 Easy Heatless Curl Methods to Protect Natural Hair in Summer 2024
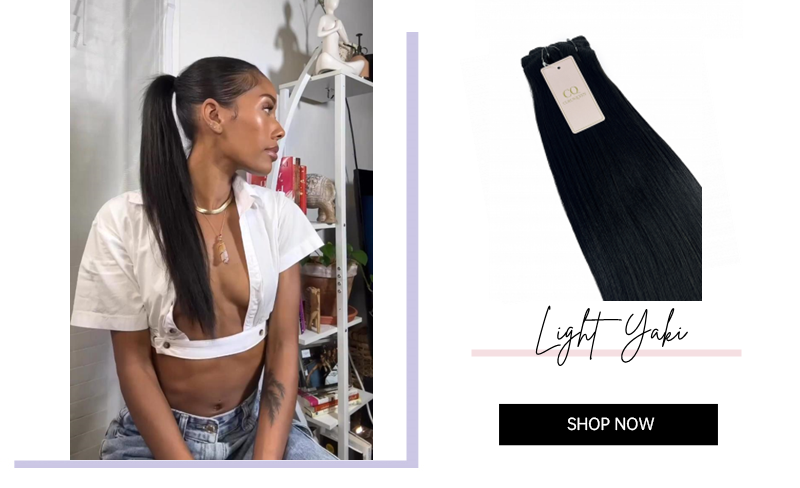
1.Heatless Curls with Silk Roller Kit
Tools needed:
- Hair sectioning clips
- Rat-tail comb
- Silk roller kit(contains satin scrunchies,claw clip and silk roller )
- Setting lotion or mousse
- Spray Bottle With Water
Step-by-Step Guide:
Section: Use the rat tail comb to section your clean, prepared hair into 2 parts in the middle of the back head.
Dampen the hair: Spray water to dampen your hair about 30% to prepare for curling.
Wrap hair onto the Silk Roller:
Put the silk roller at the middle of the front head and secure it in place with a claw clip.
Wrap your hair around the silk roller in a clockwise direction for the right section and counterclockwise for the left section.
Secure the ends :Secure the ends with satin scrunchies.
Set the curls:wait for at least 4 hours to allow the curls to set,or leave the rods in overnight for best results.
Remove roller and style curls:
Take off the roller kit and finger comb the curls out.
Apply mousse or setting lotions to keep the curls stay a whole day.(this is optional that if you sleep with silk curler kit for a whole day without applying any products).
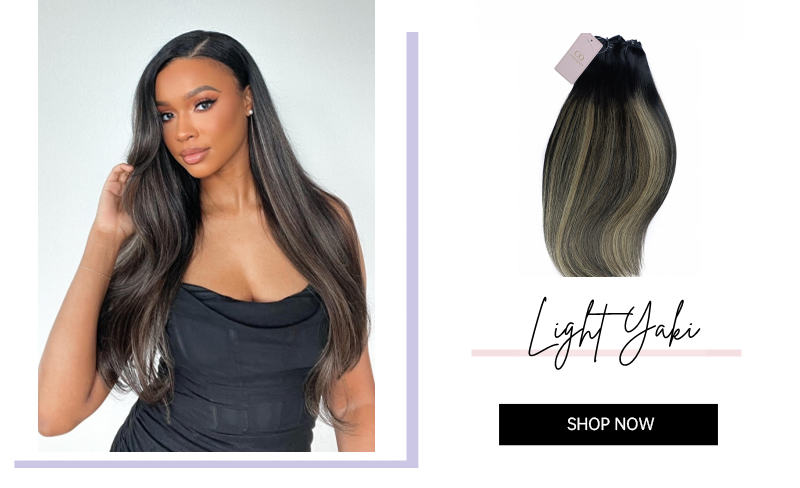
Hair used is CURLSQUEEN Clip ins light yaki texture
2.Heatless curls with Satin Scrunchies
Tools needed:
- Hair sectioning clips
- Rat-tail comb
- Hair bonnet
- Satin Scrunchies
- Setting lotion or mousse
Step-by-Step Guide:
Section: Use the rat tail comb to section your clean, prepared hair into 4 or 6 parts.
Wrap hair and secure: Wrap each section of the hair in the same direction and secure with satin scrunchies
Repeat all sections
Set the curls: Put on hair bonnet to hold the curls during sleep.
Remove scrunchies and style curls:
Remove scrunchies,finger-comb hair out.
Apply setting mousse to hold curls.
Hair used is CURLSQUEEN Clip ins coarse kinky blow out texture,20inches
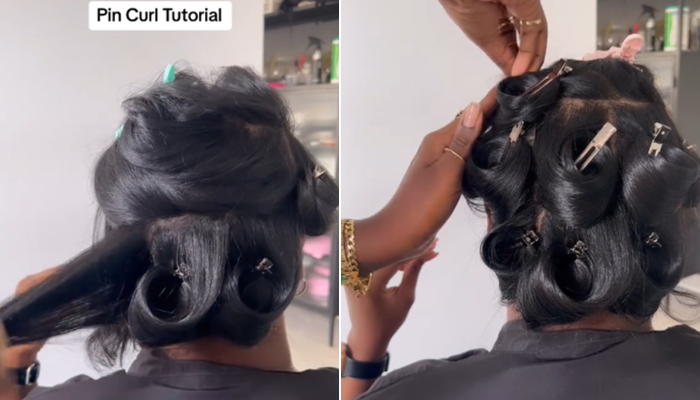
3.Heatless Curls with Pin Curls
Tools needed:
- Duck bill clips
- Rat-tail comb
- Setting lotion or mousse
Step-by-Step Guide:
Dampen the hair:Ensure your clean, prepared hair is damp but not soaking wet.
Section: Use rat-tail comb to section your hair into 10-12 small,equal parts for curling.
Wrap curls and secure:
Warp one section of the hair around your fingers from the bottom to the root to form a loop, secure the loop with a duckbill clip.
Repeat for all sections, and let the curls set for at least 6 hours.
Remove duckbill clips and style curls: Apply a setting lotion or mousse evenly throughout your hair. This product helps to hold the curls and add volume.
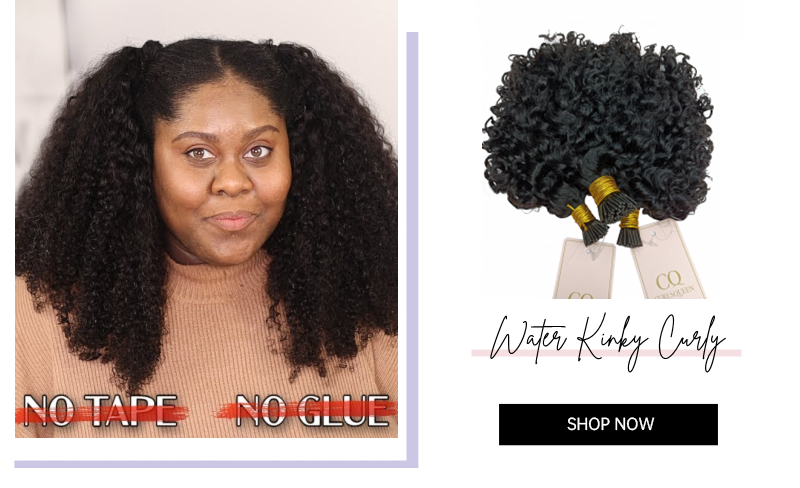
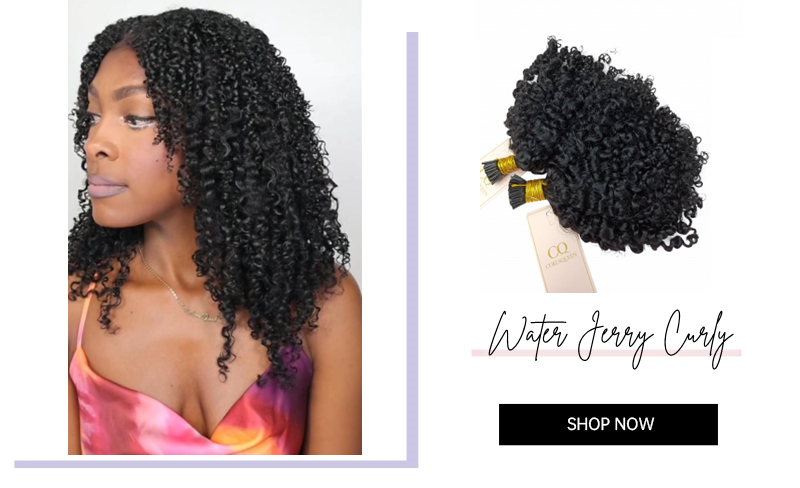
Hair used is CURLSQUEEN Microlinks ,3b3c water kinky curly texture, 24 inches.
Tips for Best Results:
- Even Sections: Keeping your sections even and consistent helps ensure uniform curls.
- Secure Pins Firmly: Make sure each curl is pinned securely to avoid it coming loose during drying.
- Work from Back to Front: This method prevents the already-pinned curls from getting disturbed.
4.Heatless Curls with Flexi Rods
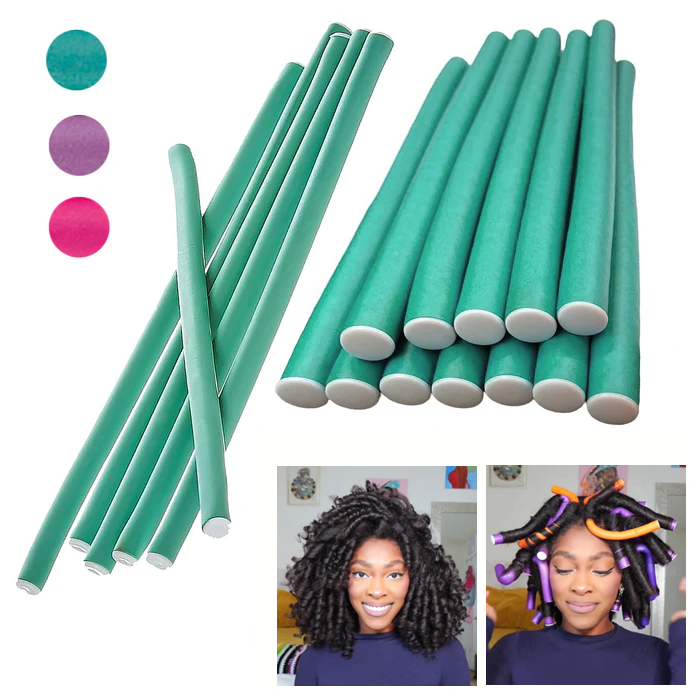
Flexi rods come in different diameters. You can choose the right size based on the curl pattern you desire as follows. You will typically need 20-35 flexi rods to complete your set for the whole head. The more hair you have and the tighter the curls you want, the more rods you will need to prepare.
Small Flexi Rods (3/8" to 7/16" diameter) are suggested for tight curls or ringlets
Medium Flexi Rods (1/2" to 5/8" diameter) are suggested for medium-sized curls
Large Flexi Rods (3/4" to 7/8" diameter) are suggested for Loose curls or waves
Tools needed:
- Hair sectioning clips
- Rat-tail comb
- Flexi rods
- Foaming mousse
Step-by-Step Guide:
Section: section your clean, prepared hair in 2 parts at the middle of the back,clik up half of them at top for curling.
Apply foaming mousse: Apply a wrap or styling mousse before curling with fexi rods help curls stay well.
Wrap hair and secure:
Take a small section(about 1 inch wide),Starting at the ends, wrap the hair around the flexi rod, rolling towards the roots.
Ensure the hair is taut but not too tight.
Bend the ends of the flexi rod to secure it in place. Make sure the rod is snug and won’t unravel.
Repeat for all sections, and let the curls set for at least 6 hours.
Remove rods and style curls:
Unbend and remove each flexi rod and finger comb curls.
Avoid pulling to prevent frizz and breakage.
Style with setting mousse.
Hair used is CURLSQUEEN Microlink hair extensions ,3c4a water jerryy curly texture, 18 inches.
5.Heatless Curls with Velcro Rollers
There are also different sizes of Velcro rollers available for you to choose from as the flexi rods,just like the flexi rods. You can select the size based on the same rules as the flexi rods, according to your preference.
Tools needed:
- Hair sectioning clips
- Rat-tail comb
- Velcro rollers
- Foaming mousse
Step-by-Step Guide:
Section: Use a rat-tail comb to divide your clean, prepared hair into manageable sections. Clip up sections you are not working on to keep them out of the way.
Wrap hair around Velcro roller:
Choose a small section of hair(about 1 inch)
Starting at the ends, roll the hair up towards the roots, ensuring the hair is smooth and taut evenly around the roller.
Secure the Roller:
Velcro rollers typically stay in place without clips, but if the hair section is too large or the rollers feel loose, you can use hair clips to secure them.
Let curls set: Repeat for all sections, and let the curls set for 3-6 hours.
Remove rods and style curls:
Carefully unroll each Velcro roller. Avoid pulling to prevent frizz and breakage.
Style with setting mousse.
6.Heatless Curls with Tin Foil
Tools needed:
- Aluminum foil
- Rat-tail comb
- Spray bottle with water
- Setting lotion or mousse
Step-by-Step Guide:
Dampen the hair:Use the spray bottle to Dapen your clean, prepared hair, ensure it is damp but not soaking wet.
Apply foaming mousse: Apply the wrap or styling mousse evenly throughout your hair before curling.
Prepare the aluminum foil rod: Take a piece of aluminum foil, fold it, and roll it into a flexible rod.
Follow the same steps as you would with flexi rods to complete the curling process.
7.Heatless curls with Socks or Stockings
Tools needed:
- Socks or stockings
- Bobby pins
- Satin scrunchies
- Hair bonnet or silk scarf
- Rat-tail comb
- Setting lotion or mousse
- Hair oil(optional,depending on your hair condition)
Step-by-Step Guide:
Section: Use a rat-tail comb to section your clean, prepared hair into 2 parts.
Put the socks in place:
Place a bobby pin along your left upper temple.
Use bobby pin to secure it in place.
Wrap hair around socks:
Wrap your hair around the sock in the same direction as you would with a silk roller kit.
For tighter and more secure curls, divide each section of hair into two parts when wrapping.
Repeat the process for the right section of your hair.
Secure the ends:
Once you finish the curl wrapping,secure the ends with satin scrunchies.
Pull the remaining sock inside out to cover the curls.
Set the curls:Put on hair bonnet or wrap your hair with a silk scarf to sleep (leave it in for 5-8 hours to let the curls set).
Remove socks and style curls:
Apply hair oil to reduce frizz.
Take out the socks,finger-comb curls, and style them with setting mousse.
Hair used is CURLSQUEEN Clip ins ,Balayage color,light yaki texture
8.Heatless Curls with Braids
Tools needed:
- Hair sectioning clips
- Rat-tail comb
- Mini rubber bands or tin foil
- Setting lotion or mousse
Step-by-Step Guide:
Section: Use a rat-tail comb to divide your clean, prepared hair into manageable sections. Clip up sections you are not working on to keep them out of the way.
Braid and secure:
Select one section of hair to braid to the end.
The smaller the braids you make, the tighter the curls you get.
Secure the ends: Secure the ends with a mini rubber band or aluminum foil.
Repeat all sections and wait for curls to set
Remove rubber bands and style curls
If you are unsure about which texture to take, feel free to email our CSR ([email protected]) with photos of your natural hair. We will provide you with our recommendations:)